How To
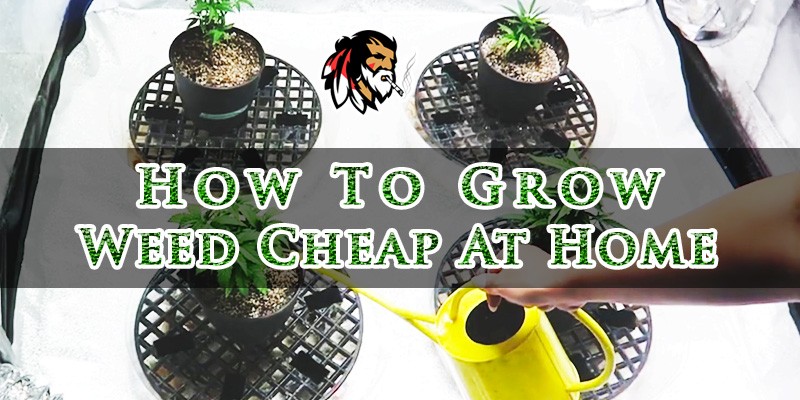
How to Grow Weed Cheap at Home
Feb
There’s a lot to love with recreational cannabis being legal in Canada. You can smoke up without getting arrested; you don’t need to go to a sketchy dealer; you can rest assured that there is scientific attention focused on developing products . . .
But did you know that you can now also grow your own cannabis? That’s right! The Canadian Cannabis Act allows for each household to grow up to four plants! Now you can combine your love of horticulture and your love of cannabis into your new favorite hobby!
Unfortunately, growing quality cannabis isn’t as easy as plant and water, but it’s not too difficult either. Read on to find out how to grow weed cheap at home without too much hassle and—more importantly—without costing you a fortune!
WHAT YOU’LL NEED
The internet is full of pricey hydroponics kits, and if that’s the way you want to go, a quick Google will have you sorted. But for the purposes of this post, we’re looking at how to grow on the cheap, and believe it or not, that can be done. Alright, here’s the barebones list of equipment you’ll need:
- 5-gallon pot
- Some kind of medium (potting soil, etc)
- Cannabis seed or clone
- Spray bottle (for misting)
- Jars
- Rooting solution (if growing from a clone)
And not absolutely necessary but HIGHLY recommended to achieve decent results:
- High Quality LED for growing Cannabis
These go beyond the bare minimum—I can almost hear the real cheapskates out there saying “the sun’s free!” True, but the sun is also unreliable, and unless you’re living near the equator, it’s not going to provide nearly enough daylight for efficient growth and robust plants, especially at this time of the year. LED bulbs are more cost-effective than HID lights as they produce nowhere near as much heat and therefore do not require a cooling system.
Most of these items are very simple to acquire. The pot, medium, spray bottle, and rooting solution can all be purchased from a gardening centre. Despite their fancy-sounding name, LED bulbs can be picked up from your local supply store, of be purchased online.
This is the absolute minimum you’ll need to plant your cannabis and to keep it alive, however, your results will improve with a number of other purchases. Aside from LED bulbs and the associated fixtures, garden shearers will help with trimming, one or two smaller pots will help your plant get the best start, and higher-quality medium (such as coconut coir) will give your plant a boost in nutrients.
WHAT TO DO
The first step is also the cheapest: germination. Germination refers to simply getting the seed to crack open and have the root emerge. This could be done by placing the seed between two sheets of damp paper towel, or you can put the seed right into the soil. The advantage of paper towel over soil is that you can visually monitor the seed and confirm that it has in fact germinated. The downside is that you won’t be able to tell the sex of your plant until you’ve already put some time in—and remember that only female plants produce the cannabinoid-rich flower that we’re interested in.
If you are beginning from a clone, you can obviously skip the germination process. Simply cut your clone from the mother plant with a 45-degree snip, dip the severed end in rooting solution and plant a couple centimeters deep in loose soil.
Your plant should be in a bright area. At this stage of its life, a typical plant should get up to sixteen hours of light. If you have a greenhouse or a window that offers this much light, perfect! If not, you’ll have to play God and pull out those T5 fluorescent bulbs.
Keep the soil damp but not wet. Overwatering can essentially drown your plant, depriving the roots of oxygen and causing rot and all sorts of unpleasantness. And remember that most strains hail from humid locations and like a little mist!
When your baby/clone gets to be well-rooted (if a gentle tip of the pot allows the plant and medium to be lifted together, and you can see the plant’s white roots growing throughout the soil), it’s time to transplant it. Remove the plant from the pot and massage the roots to give them some room to spread out. Pack lightly, only enough to keep the plant supported. Avoid packing too firmly, as the roots need oxygen too!
FLOWERING & HARVEST
Timelines vary by strain, but when your plant’s ready to flower, cut the light hours down to twelve—the plants perform important functions in the dark.
You will have your buds ready to go in about eight weeks for most strains. Roughly three weeks after the hairs begin to turn brown, the bud should be mature. You may have heard of people drying their buds out in the oven—THIS IS NOT NECESSARY, and may, in fact, damage your precious buds. The correct way to dry and cure your bud is by hanging them upside down in a cool and dark room until the stem inside the bud is snappy and the bud is still dank. This process may take several days, or up to a week. After that, just load your buds into jars or mylar bags and keep out of light to preserve the terpene content for as long as possible.
FLEX THAT GREENTHUMB
It is a work of art, and to produce good product its going to take time and concentration. You will need to study more to get it right, but the research will pay of big. For the price of a few jars, some dirt, a pot, and seeds, you can become your own grower! Cut out the middle man and have some fun in the process without breaking the bank. Growing cannabis definitely comes with a bit of a learning curve, but you’ll find that it’s a rewarding hobby, and there’s nothing better than firing up the fruits of your labour!

Sorry, but this is a horrible type up.
The drying and curing process are two completely different stages in the plants final stages before processing. These are more important than growing the plant itself, and I feel the way it was explained is simply incorrect.
I completely agree with you. I should have read the writers work more carefully before publishing the work. I have since made edits to the article that will set a newbie on the correct path. Thank you for taking the time to send in your constructive criticism 🙂